Thursday, October 27, 2011

Wednesday October 26, 2011: Handle Corrections

Tonight I came in on an open forge night, with Ethan, Samwise, and Bea among others in attendance. It was crowded and energetic, with multiple anvils at once and Surprise heating everybody’s work. Sam is making his blades and some kind of file, and there were various hooks, pins, a heavy-duty bar, and a metal crown being worked on. I succeeded in finishing the bend on either side, but I was still overshooting. I decided to redo it so the bend would happen closer to the center, and in the meantime I noticed I was going through the motions quite naturally. Ethan still had to remind me frequently about forge ettequite, particularly about not having things in the way of the anvil. He hammered the handle while I held it on the grooved surface to round it, which was helpful. I tried a couple techniques Don suggested, such as quenching certain areas while I worked on others. It was a night of trial and error. I had to take frequent measurements with a tape measure and soap stone. The handle was just about perfect before I had to round it, at which point it bent in the middle. My next session will have to involve taking out the crookedness once and for all. The flush parts on either side will do well for riveting.


Tuesday October 25, 2011: Handle Continues

Don’s dog is sick, so I haven’t seen him. Today I worked the handle from 7:30-9:10, chatting with a nice fellow named Sam who’s forging some Tanto blades. We shared the use of Nina. I roughly finished the handle, only to realize that I’d forgotten to shorten the length before bending off the other end. It now overshot the width of the boss. I decided to make the bend rounded instead, and slope inward until both sides went straight where the boss begins. Sam pointed out I should use the horn of the anvil to get rounded shapes. I got one end just right, but the other’s still giving me trouble and is still unfinished. I’m beginning to realize that round shapes are much harder to measure and keep from twisting the whole piece. I guess my next session will require many corrections.


Friday, October 21, 2011: First Blacksmith Lesson

Today from 2-5 PM I worked with Don on my first blacksmithing lesson. I had come in with the idea of a folded sheet metal handle, since my expectations had been influenced—perhaps corrupted—by the mass-produced bucklers I had seen online. Don told me that a handle forged out of a solid piece of steel would be sturdier and more authentic, and I thought he had the right idea. Don suggested I take a long tubular piece of mild steel stock and use that. When we agreed half an inch was a good height for the handle to protrude from the buckler, Don introduced me to the one of the larger propane furnaces, “Surprise”, and showed me in steps how to heat and hammer the stock. At first I was nervous about the hazards and my lack of experience, but by the end of the day I was very comfortable with all the steps. The handle, in a rough form, seems a little more than half complete. Meanwhile, Don is forging the piece we will need to finish rolling the edges. One of the regulars at the forge admonished me to be careful about my fuel usage. I told him using Surprise was Don’s idea, and he said that he understood. It would still be better, if I’m the only one working on something, to use the smaller “Nina” in the future.  Some people have shown curiosity or interest in my project, which is encouraging. It was a good day. 


Thursday October 13, 2011: Rolling Edge over Wire

Today I completely rolled the edge over a wire around the buckler between 3:40 and 5:40. I had to use a small bit of wire to make up for the insufficient length of the first one. It came naturally, and its beginning to look more formed. While Don makes a tool to finish the edges—that’s what I think he said, I need to start on the grip. I’m debating whether to go all metal or perhaps metal with a section of wood or bone.


Wednesday October 13, 2011: Planishing and the Armoring Gin

I’ve missed a couple of entries, so its time to set the record down. 

On some other day, when I’m not exactly sure, I spent about an hour planishing the boss on the stake before the shop abruptly closed. During another session of unknown date and time, I spent about three hours total spent between finishing the planishing job and then using the wire brush end of the bench grinder to scrub away the rust. With a bit of patience it went from rusty to downright shiny. Painting seems like it would be a waste of potential now that I’ve got a result like this. Just before I left Don introduced me to the armorer’s “gin”, a small contraption that can be secured into a vise and help you roll the edge of a curved piece of sheet metal. It grips the piece and pulls it through the rollers as the handle is turned, creating an indentation that can be used to fold or roll the edge. Don tells me that medieval armor makers used the ancestor of this machine to do the same thing. On that day I didn’t have the hang of the gin, mostly because I was overeager with the speed and hadn’t gotten the hang of how to rotate the piece as the handle turns. Also, there was a small nick in the material that had to be corrected by asking somebody to weld some wire into the hole. I filed it down. Now I can resume using the Gin. 


This Wednesday, I came in with the buckler to try the gin again. This time I was good right off the bat, mainly because I stood close to the gin and turned the crank slowly as I trained my eye on the roller to guide its path. My friend Tom came in when he heard I was in the shop, and he thought the buckler was shaping out alright. He very helpfully volunteered to hold and turn the piece while I worked the gin, which helped because it’s rather stiff on the deeper setting unless you have two hands. Slowly and carefully we worked together and got it just right. Don showed me how to bend the edge forward once the groove was established using a special stake and a polished hammer. Tom admonished me to go gradually in consecutive passes rather than trying to bend it far on the first pass, pointing out that doing too much at once creates wrinkles that have to be cleaned up later. I took the hint, and so far its going alright. This evening was two hours.


About the story, I talked with Anthony and we agreed that I’d neglected my story in order to get my other class assignments done. Its time to start writing. I’ve taken stock of my sources and its time for serious research. We discussed the thematic importance of certain aspects of medieval life, which I’m sure will make their way into the paper.

Thursday September 29, 2011: Sinking Continues, Planishing Begins

Today I went into Lemelson at 1:30 and worked on and off until I had deepened the boss quite a lot—from perhaps half an inch to a full depth of about 1 ½ inches. The boss is now hemispherical, round, and smooth. Finally it’s deep enough to accommodate a fist if it were fitted with a handle raised 1 ½ inches off the surface, so that it matches my design.

Don next showed me the basic form of planishing, which is a polishing technique in which the surface of armor is struck by a polished hammer head on only a small area at a time, and gradually expanded outward by continual hammering on the planishing stake. I planished part of the boss and decided to wrap up, but I lingered to polish the surface somewhat with an abrasive. The rust is tenacious and seems stained into the metal pretty good, but at least it shows minute signs of getting cleaned and the surfaces not stained by rust look distinctly shiny. The planished part of the boss’ outside looks more even than it did when it was only hammered, and it is more reflective. At the end of the day it was 3:40. Don and I will roll the edges and make the handle in the future; in the meantime the next day will be more planishing.

Note: if the rust doesn’t go away, it may be better to cut my losses and simply paint it to hide the rust and protect against further discoloration.


Wednesday September 29, 2011: Dishing Begins

Last night, Don provided me with a circular piece of mild steel he had handy, and I got out some draft paper to measure the thing out. Today we got to work on it. The first technique is called “dishing” or “sinking”, and uses a steel block with variously shaped holes and indents as templates for sinking. I sank the boss of the buckler about 1 ½ inches from the disc using a nylon mallet. Don showed me the basics, and Tom Emerson popped into the shop to show me proper hammer technique. Shortly afterward Don said he was impressed by what a neat boss I made in 45 minutes. I was flattered. He said we’re ahead of schedule, considering the first attempt went so well. So far so good, it seems we’ll start the handle earlier than I would have guessed. Tom recommends bringing out the boss a little more.


Sunday September 25, 2011: Concept and Plans for a Buckler

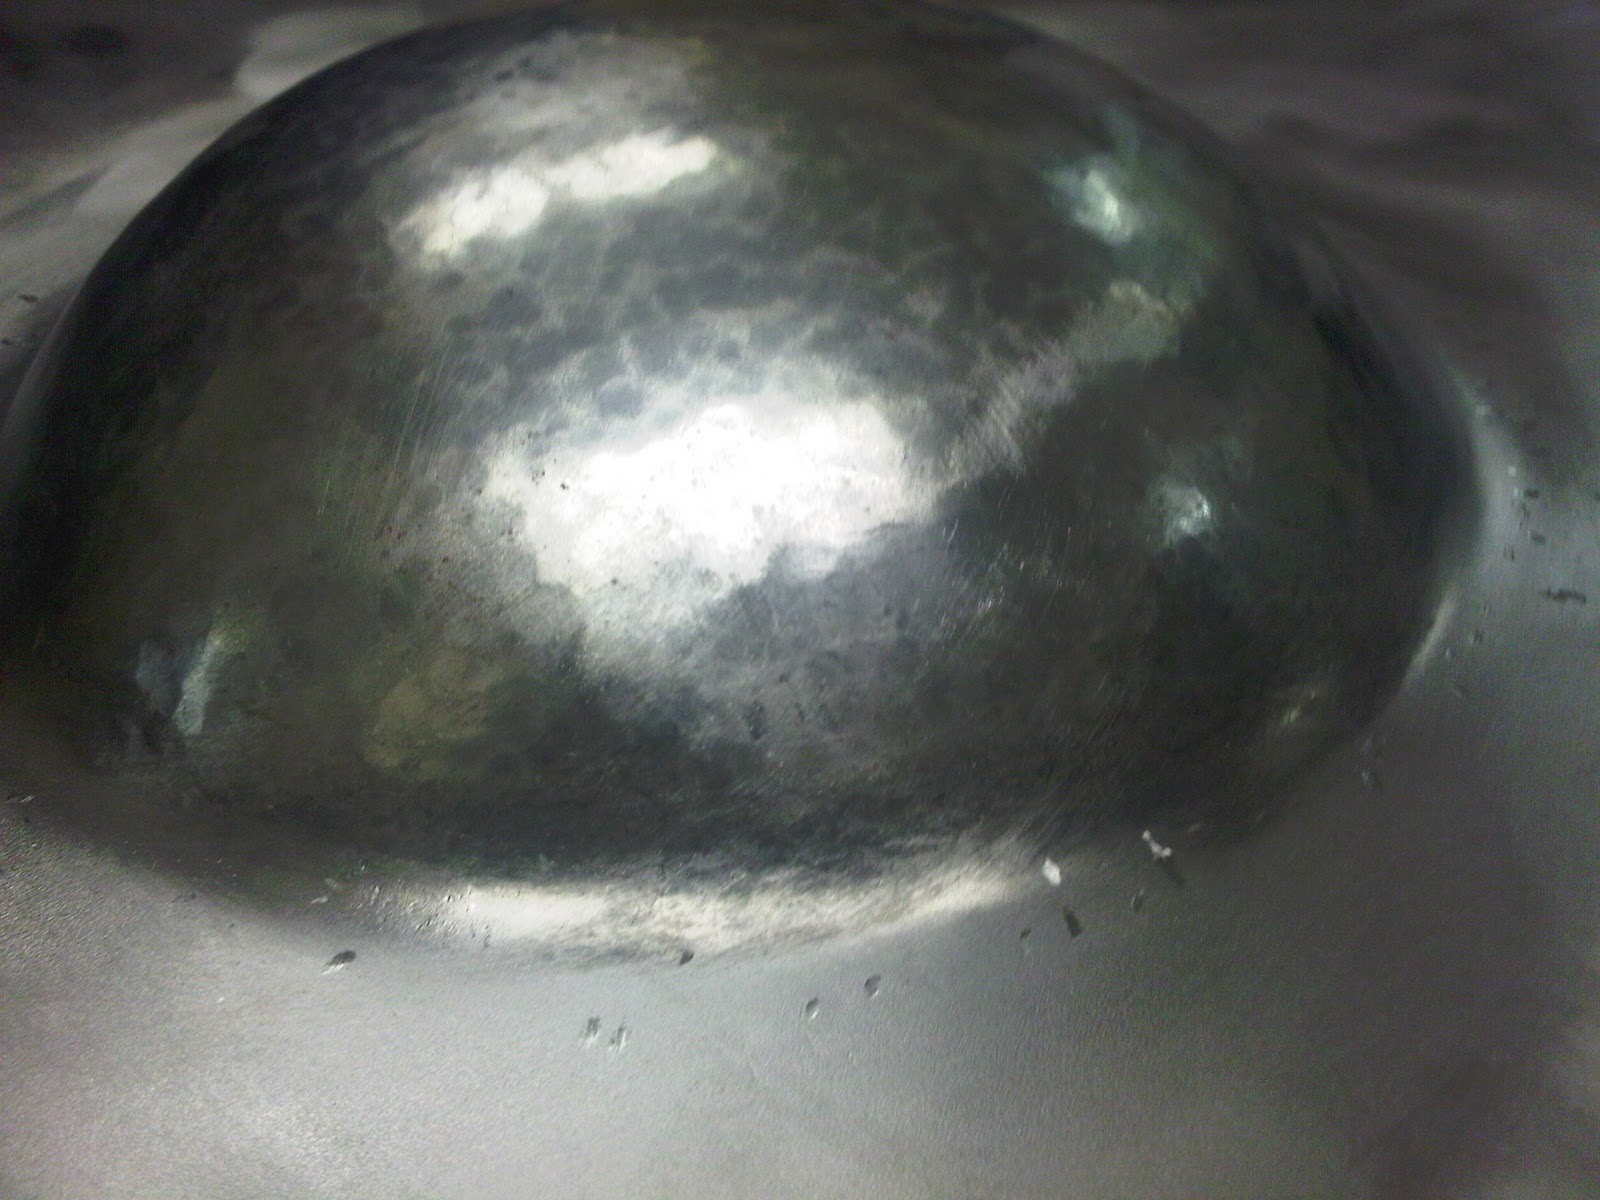
Tonight I discussed the design of the buckler with my writing tutor, Hampshire alum Anthony Holley. I talked about the evolution of the buckler alongside that of the larger shield, how in the 14th century they began to be made of steel, and how the buckler was a more widely used and practical weapon than most people—myself included—had previously realized. I decided to base my design on one particular example held by combat historian Mike Loades on his television show “Weapons that Made Britain”. It is a simple flat disc of metal with rolled edges, a handle, a central boss, and ten nice lines in low relief radiating from the center. I thought the appropriate size would be 12-14 inches: less than that and it would be less protective, more than that and it would be less handy and portable.

I am supposed to write a short story about medieval Europe involving these things I am creating. What I’ve considered is what sort of buckler-wielder would make a good main character for my story. I had already decided he should be a footman in one of the major European armies. I considered hundred years war because I’m somewhat familiar with it. I ultimately decided he doesn’t have to be English, because that’s overdone. I have the opportunity to do something a bit different so I thought, “what about Flanders?” The county of Flanders fought on the side of the English during the Hundred-Years War, and on one occasion called “the battle of the golden spurs” they massacred an army of French knights. It’s a very famous and interesting battle that isn’t much heard of here in America by the general public, so I think it’s settled. The Battle of Courtrai will be my subject, and my character will be a middle-class Flemish Burgher levied to fight with sword and buckler.

“A c.1305 image from Flanders of the battle Courtrai portrays numerous maile-clad helmeted Flemish militiamen on foot with bucklers, but no larger shields are shown.”

I will have to research:

  • How are shields and bucklers related?
  • How did the form and role of the buckler evolve?
  • What was its effect on combat, strategy, and war?
  • Who owned bucklers, and what makes one buckler different from another?
  • Who taught sword and buckler, or how did young men teach themselves?
  • What was the social environment in which buckler use grew?
  • What did they cost to buy, and how fancy were they?
  • How did the materials change over time?
  • How were they wielded?

Tonight I took some measurements with a ruler, paper plates, and paper to see what the right proportions probably were. I decided then on 12-14 inches. I also told Anthony what I’d read on the ARMA.com from its essay on bucklers, which talked about its battlefield role.

For general reading we decided on some books I own, including A Distant Mirror, The Middle Ages, and Europe in the High Middle Ages. I will get Techniques of Medieval Armour Reproduction, which came recommended by Tom, and whatever resources I can get on medieval battles, soldiers, and the lives of Flemish Burghers. Also I will study the buckler techniques in my Christian Tobler translation of the Ringeck fechtbuch.